
Low Shower Pressure: Fix It Fast or Call a Pro
Struggling with low shower pressure? Discover quick fixes before calling a pro. Get your shower flowing smoothly with these simple steps!
Low shower pressure is almost always caused by one of four things: limescale clogging the shower head, a flow restrictor doing its job too well, a partially closed isolation valve, or an upstream supply issue like a failing pressure-reducing valve (PRV). Before you call anyone, try these three steps right now:
- Test another fixture. Run the kitchen tap or bathroom basin. If pressure is fine there, the problem is local to the shower. If everything in the house is weak, you’re dealing with a supply-side issue.
- Check your isolation valves. The shut-off valves under the sink or behind the shower access panel are frequently bumped during maintenance and left partially closed. A quarter-turn from fully open cuts flow noticeably.
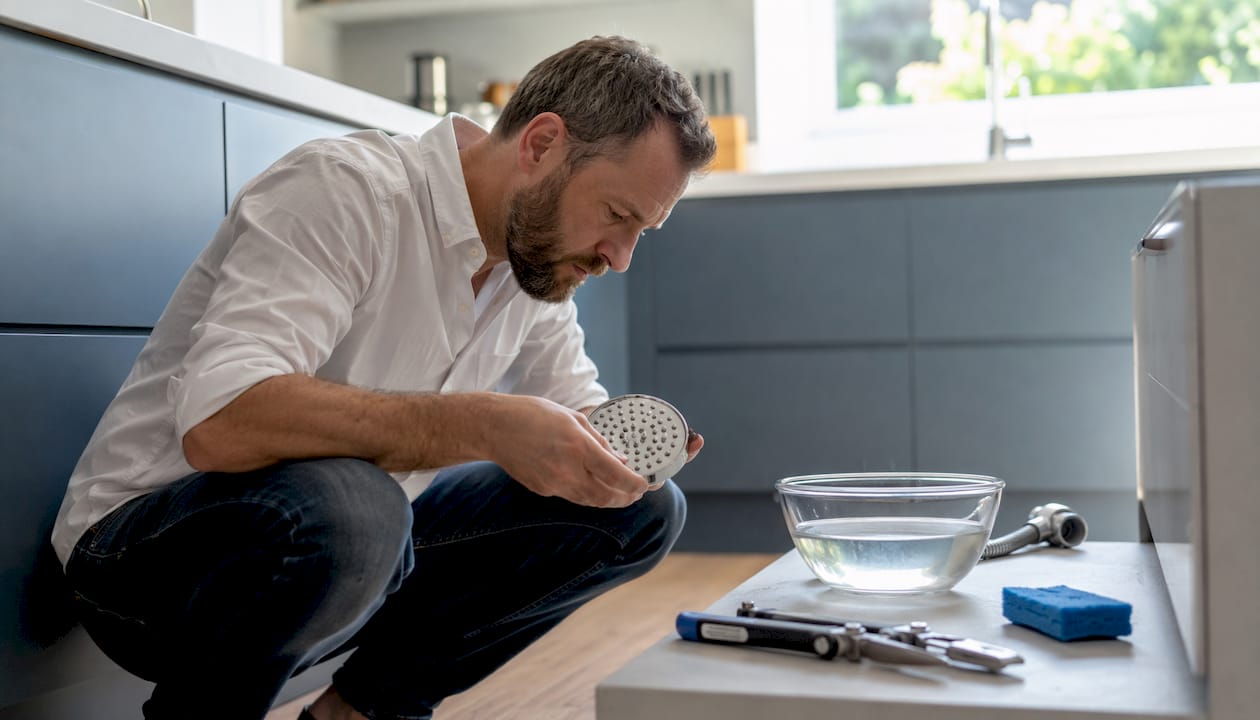
- Soak the shower head in white vinegar. Cleaning the shower head resolves roughly 70% of user-reported low-pressure complaints, particularly in hard-water areas like Cardiff. Two hours minimum, overnight for heavy limescale.
If those three steps restore your flow, you’re done. If pressure is still weak, or if the whole house is affected, read on.
Table of Contents
- Is your low shower pressure a shower problem or a house problem?
- DIY fixes that solve most shower-only pressure problems
- When you need a plumber: red flags you shouldn’t ignore
- What Jmplumbingservicesltd does on a diagnostic visit
- How to prevent low pressure from coming back
- Key Takeaways
- The mistake that costs Cardiff homeowners the most money
- Book a pressure diagnostic with Jmplumbingservicesltd
- Useful sources and further reading
Is your low shower pressure a shower problem or a house problem?
Getting the diagnosis right saves you time and money. The fix for a clogged shower head is a bowl of vinegar; the fix for a failing PRV is a plumber. Treating them the same wastes both.
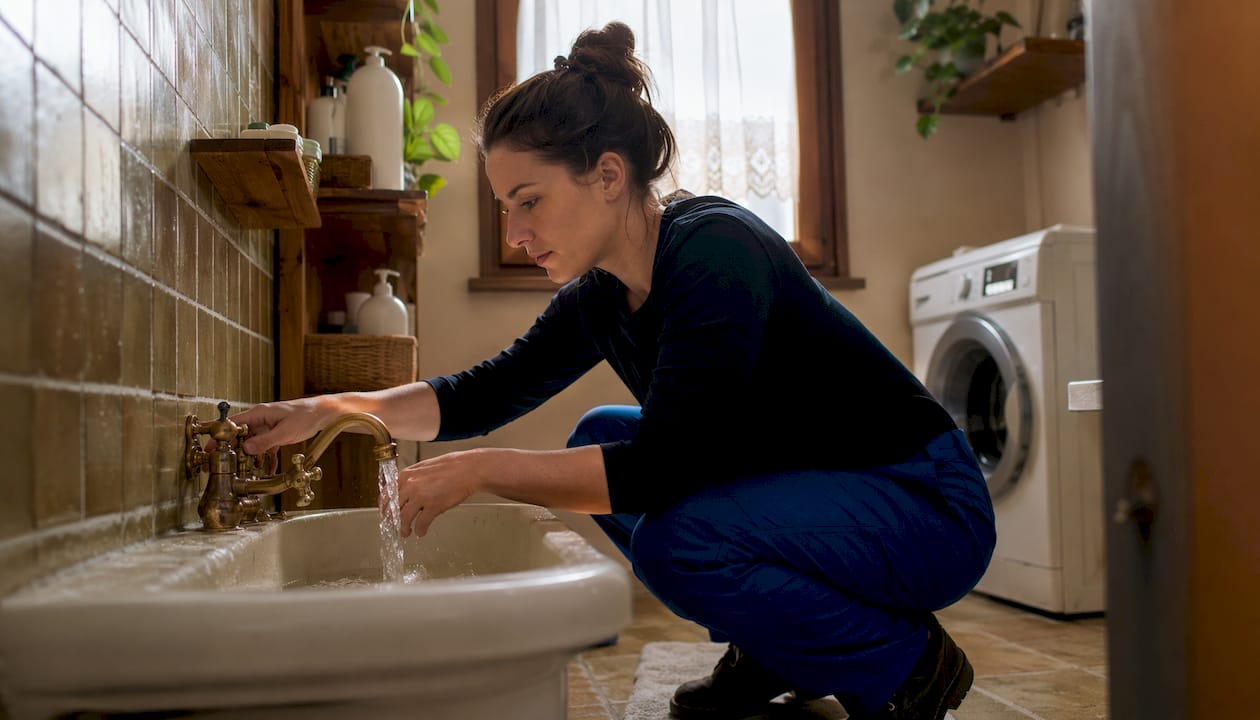
Start with the isolation test. Run two or three fixtures simultaneously — the kitchen tap, a bathroom basin, and the shower. If only the shower is affected, the cause is local: a clogged head, a blocked hose, a partially closed valve, or a worn cartridge. If everything is weak, the problem is upstream.
Test hot vs. cold separately. Weak hot water only, with normal cold pressure, points to the water heater — sediment in the cylinder, a partially closed inlet valve, or a mismatch between a gravity-fed hot system and mains-fed cold supply. That’s a different repair path entirely.
Ask your neighbors. If they’re also getting a trickle, it’s a municipal supply issue. Contact your water company before touching anything inside the house.
Measure your static pressure. Attach an inexpensive pressure gauge to an outdoor hose bib with no water running. Residential pressure typically sits in a moderate range; pressure considered low will affect shower performance noticeably.
| Symptom | Most Likely Cause | First Action |
|---|---|---|
| Shower only weak | Clogged head, closed valve, worn cartridge | Vinegar soak, check valves |
| Whole house weak | PRV failure, main valve, municipal supply | Pressure gauge test, check main valve |
| Hot side only weak | Water heater, gravity/mains mismatch | Check heater inlet valve, call pro |
| Gradual decline over months | Limescale buildup, corroded pipes | Clean head, test pressure |
| Sudden whole-house drop | Valve moved, new leak, PRV failure | Check main shut-off, meter test |
Pro Tip: Before disconnecting any part of the shower, turn off the relevant isolation valve. Never force a corroded gate valve — if it won’t turn smoothly, stop and call a plumber. Forcing it can snap the stem and leave you with no water at all.
DIY fixes that solve most shower-only pressure problems
Most fixes take under an hour and cost nothing beyond household supplies. Work through these in order.
What you’ll need: adjustable wrench, soft cloth (to protect chrome finishes), flat-head screwdriver, needle-nose pliers, white vinegar, a bucket, and an old toothbrush.
Step-by-step: from easiest to most involved
- Soak the shower head. Unscrew the head counterclockwise (wrap the wrench jaw in a cloth). Submerge it in undiluted white vinegar for 2–4 hours, or overnight for heavy scale. Use a toothbrush to clear individual nozzles. Rinse thoroughly and reinstall with fresh plumber’s tape on the threads.
- Check for a flow restrictor. With the head removed, look inside the inlet for a small plastic disc — often green, blue, or yellow. This is the flow restrictor. Many shower heads ship limited to regulated flow rates to meet standards; some newer models have lower flow rates. Remove it with needle-nose pliers, reinstall the head, and retest. Note that removal may increase water consumption.
- Run the bucket test. Hold a one-gallon bucket under the shower and time how long it takes to fill. Divide 60 by the number of seconds to get GPM. Under 1.5 GPM at full flow confirms a restriction somewhere in the system.
- Open all isolation valves fully. Check the valves behind the shower access panel, under the basin, and at the water heater. Gate valves (round handle) turn counterclockwise until they stop. Ball valves (lever handle) sit parallel to the pipe when fully open. Even a quarter-turn from full open cuts flow significantly.
- Inspect and replace the shower hose. A kinked or internally corroded flexible hose on a handset restricts flow without looking obviously damaged. Replace it — a standard 1.5m shower hose costs a few pounds and takes five minutes to swap.
- Flush the shower arm. Remove the shower head and briefly turn on the water to flush any debris sitting in the arm itself before reinstalling.
Pro Tip: Pressure (PSI) and flow (GPM) are different things. A house with adequate pressure but restrictive pipework still produces a weak spray. If your gauge reads fine but flow is poor, the bottleneck is in the pipe bore or layout, not the supply.
When you need a plumber: red flags you shouldn’t ignore
Some symptoms mean DIY stops and professional assessment starts. Pushing past these thresholds risks water damage, fixture failure, or a much bigger repair bill.
Call a plumber when you see any of these: whole-house low pressure that doesn’t improve after opening all valves; a water meter that keeps moving with every tap turned off (a reliable sign of a hidden leak); static pressure below 40 PSI at the hose bib after checking the main shut-off; visible water stains, damp patches, or discolored water; or a PRV that’s never been serviced and is more than 10–15 years old.
Common professional repairs and rough timeframes:
- PRV test and replacement. A failing PRV produces whole-house symptoms and requires a pressure gauge test followed by adjustment or replacement. Replacement involves cutting into the main line — not a DIY job.
- Shower cartridge replacement. A worn cartridge restricts flow and causes temperature fluctuation. A plumber can swap it in under an hour on most standard valves.
- Hidden leak detection and repair. Gradual pressure loss with no obvious cause often traces to a hidden leak inside a wall or under a floor. Acoustic detection tools locate it without unnecessary demolition.
- Pipe repiping. Older Cardiff properties with galvanized steel supply lines suffer progressive internal corrosion that narrows the bore over years. Repiping to copper or PEX is the permanent fix.
- Pump installation. Gravity-fed systems can benefit from a shower pump, but mismatched water systems are a leading cause of persistent low flow that a pump alone won’t fix. Verify system type before buying any hardware.
Have this ready when you book: your pressure gauge reading, the results of your isolation test (shower-only or whole-house), photos of the shower valve and any access panels, and notes on any recent plumbing work in the property.
What Jmplumbingservicesltd does on a diagnostic visit
When you book a visit with Jmplumbingservicesltd, the process starts with diagnosis, not parts. The team serves Cardiff and the Vale of Glamorgan and carries gauges and common replacement parts on every visit.
A typical diagnostic visit covers:
- On-site pressure gauge reading at the hose bib and at the shower valve
- Isolation test across multiple fixtures to confirm whether the issue is local or systemic
- Shower head and hose inspection, with a clean or swap performed on the spot where possible
- Cartridge and valve inspection, including thermostatic cartridge function and seal condition
- System-type assessment (gravity-fed, combi boiler, or unvented) to confirm whether a pump or upgrade is actually compatible
- Written quote for any repairs or upgrades before any work begins
Most shower-only issues — a cartridge swap, a head replacement, or a valve adjustment — are completed on the same visit. Bigger jobs like PRV replacement or leak tracing are quoted and scheduled. Jmplumbingservicesltd’s approach is to diagnose before recommending any hardware, which regularly saves homeowners from buying pumps or oversized heads that were never going to work with their system.
How to prevent low pressure from coming back
A short maintenance routine keeps most causes from recurring.
- Clean the shower head every 6–12 months with a white vinegar soak. In hard-water areas of South Wales, every three months is more realistic to maintain consistent flow.
- Test static pressure annually with an inexpensive hose-bib gauge. A reading that’s dropped since last year is an early warning sign.
- Service or replace the PRV every 10–15 years. Most homeowners have never touched theirs.
- After any plumbing work, verify all valves are fully open by running every fixture in the house.
| Upgrade | When it makes sense | Expected benefit |
|---|---|---|
| Whole-house water softener | Persistent limescale, hard-water area | Reduces scale in heads, cartridges, and pipes |
| Shower pump | Confirmed gravity-fed system with adequate tank capacity | Meaningful flow increase at the shower |
| Repiping (copper or PEX) | Galvanized pipes, gradual decline, discolored water | Permanent fix for corrosion-related restriction |
| PRV replacement | PRV over 15 years old, whole-house pressure below 40 PSI | Restores correct pressure throughout the house |
Key Takeaways
Cleaning the shower head first resolves roughly 70% of low-pressure complaints; if that doesn’t work, test static pressure and check all isolation valves before spending money on hardware.
| Point | Details |
|---|---|
| Start with the shower head | A vinegar soak resolves roughly 70% of shower-specific low-pressure complaints. |
| Isolate before you fix | Test multiple fixtures and hot vs. cold to confirm whether the problem is local or whole-house. |
| Know your pressure threshold | Static pressure below 40 PSI at the hose bib means a supply-side issue, not a shower-head problem. |
| Call a pro for these signs | Meter movement with everything off, whole-house weakness, or a PRV over 10–15 years old. |
| Jmplumbingservicesltd | Serves Cardiff and the Vale of Glamorgan with on-site diagnosis, pressure testing, and same-visit repairs where possible. |
The mistake that costs Cardiff homeowners the most money
The most expensive low-pressure mistake isn’t ignoring the problem. It’s buying hardware before diagnosing the system.
A large rainfall head fitted to a gravity-fed system with a small cold-water tank will perform worse than the original shower it replaced. A pump installed on a combi boiler system does nothing useful and can damage the boiler. These aren’t edge cases — they’re the most common calls Jmplumbingservicesltd receives after a homeowner has already spent several hundred pounds on the wrong fix.
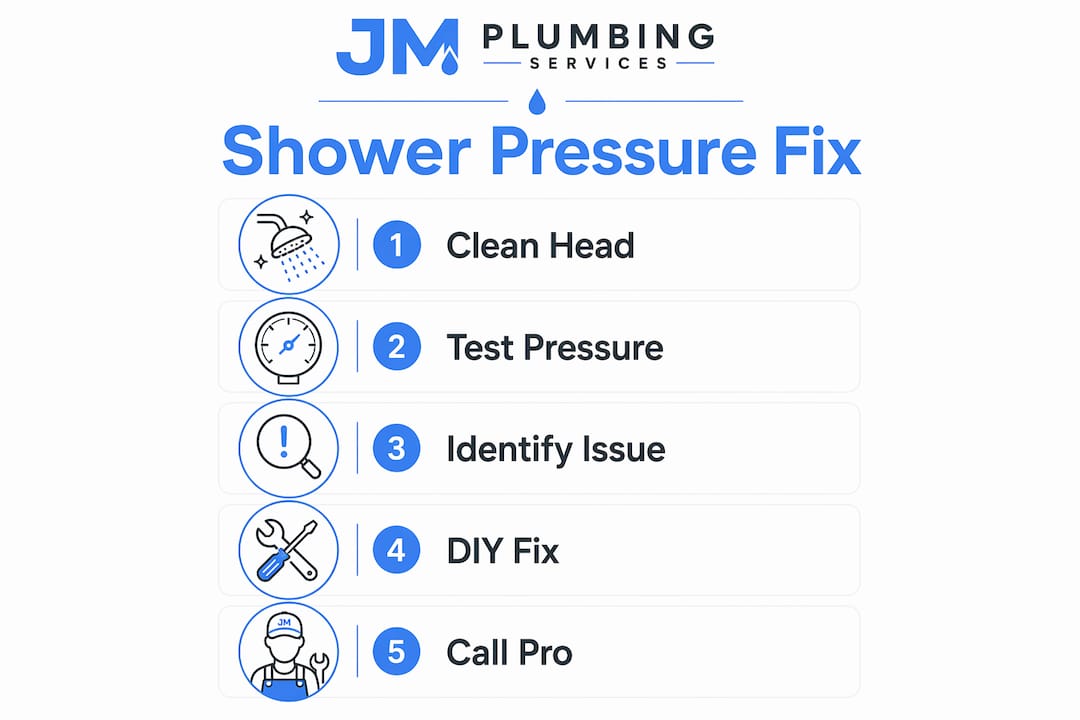
The right sequence is always: clean first, test pressure, identify system type, then decide whether hardware is even the answer. Most of the time, a £3 bottle of vinegar and ten minutes is the whole repair. When it isn’t, knowing your system type before you buy anything saves real money.
Persistent or sudden pressure drops deserve attention rather than patience. Gradual declines often signal cartridge wear or hidden leaks that get worse, not better, over time. A bathroom leak left unaddressed can cause structural damage that dwarfs the original plumbing repair cost.
Book a pressure diagnostic with Jmplumbingservicesltd
Cardiff and Vale of Glamorgan homeowners who’ve worked through the DIY steps and still have weak flow get a straight answer from Jmplumbingservicesltd: on-site pressure testing, cartridge and valve inspection, shower-head and hose checks, and a written quote before any work starts.

Most diagnostic visits take under two hours. Where the fix is a cartridge swap, a head replacement, or a valve adjustment, the team completes it on the same visit. No guesswork, no unnecessary parts, no upselling hardware that won’t work with your system.
Book your diagnostic visit or check bathroom installation and renovation services if a full upgrade is on your radar.
Useful sources and further reading
- PlumbingToolsReview: How to Fix Low Water Pressure in Shower — Covers the seven most common causes with step-by-step fixes; useful for confirming DIY sequence and pressure thresholds.
- Victorian Plumbing: Understanding water pressure — Clear UK-focused explanation of the difference between pressure (PSI) and flow (GPM), and why both matter for shower performance.
- Triton Showers: Home water systems explained — Essential reading before buying any pump or high-flow fitting; explains gravity-fed, combi, and unvented systems and their compatibility limits.
- Jmplumbingservicesltd: Plumber Cardiff — Book a diagnostic visit or general plumbing repair in Cardiff and the Vale of Glamorgan.
- Jmplumbingservicesltd: Shower leak through ceiling — If low pressure is accompanied by damp patches or ceiling stains, read this before the problem spreads.
Save this page and run the vinegar soak and valve check annually. A five-minute maintenance check once a year prevents most of the calls Jmplumbingservicesltd receives about weak showers.