
Dripping Tap Causes: Diagnose and Fix It Today
Identify dripping tap causes and learn quick fixes today! Save money and time with simple DIY solutions to fix your leaking tap.
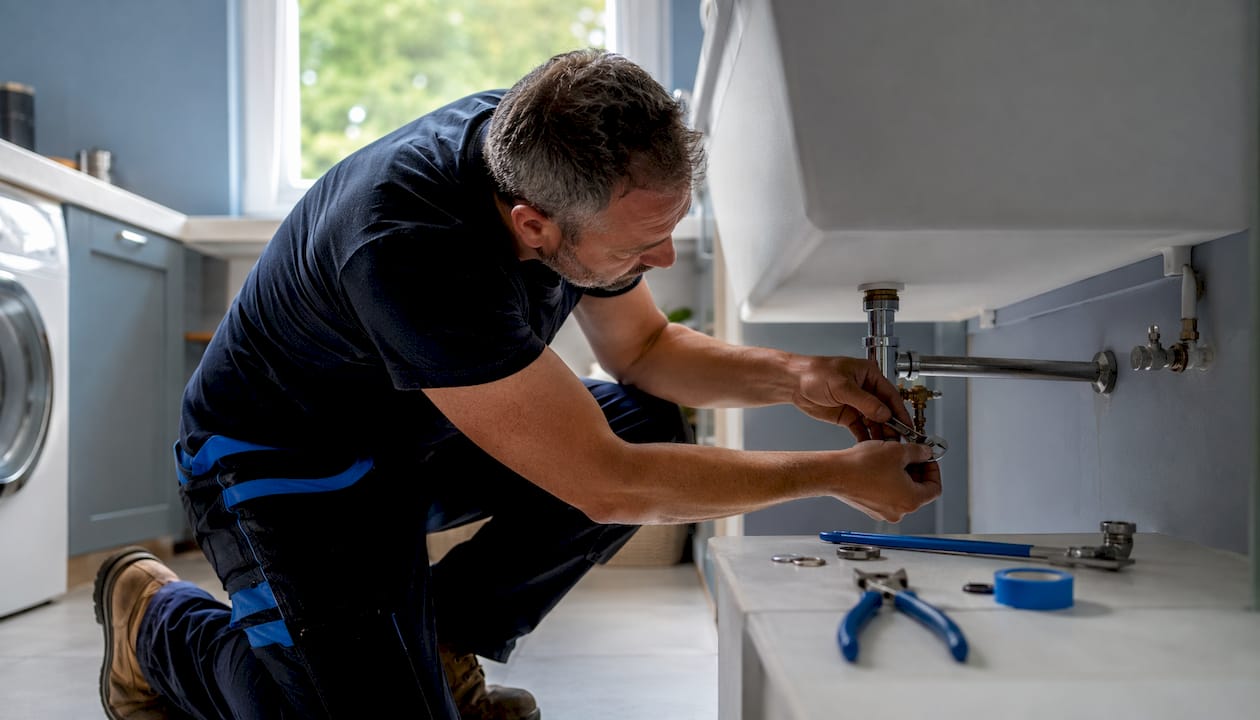
Most dripping taps come down to one thing: a worn seal. In a compression tap (the older style with separate hot and cold handles you turn), that means a degraded rubber washer. In a modern mixer tap, it’s usually a worn cartridge or O-ring. Wickes confirms that most household faucet leaks trace back to degraded washers, O-rings, or cartridges that no longer form a proper seal. The fix is often a £2 washer and 45 minutes of your time.
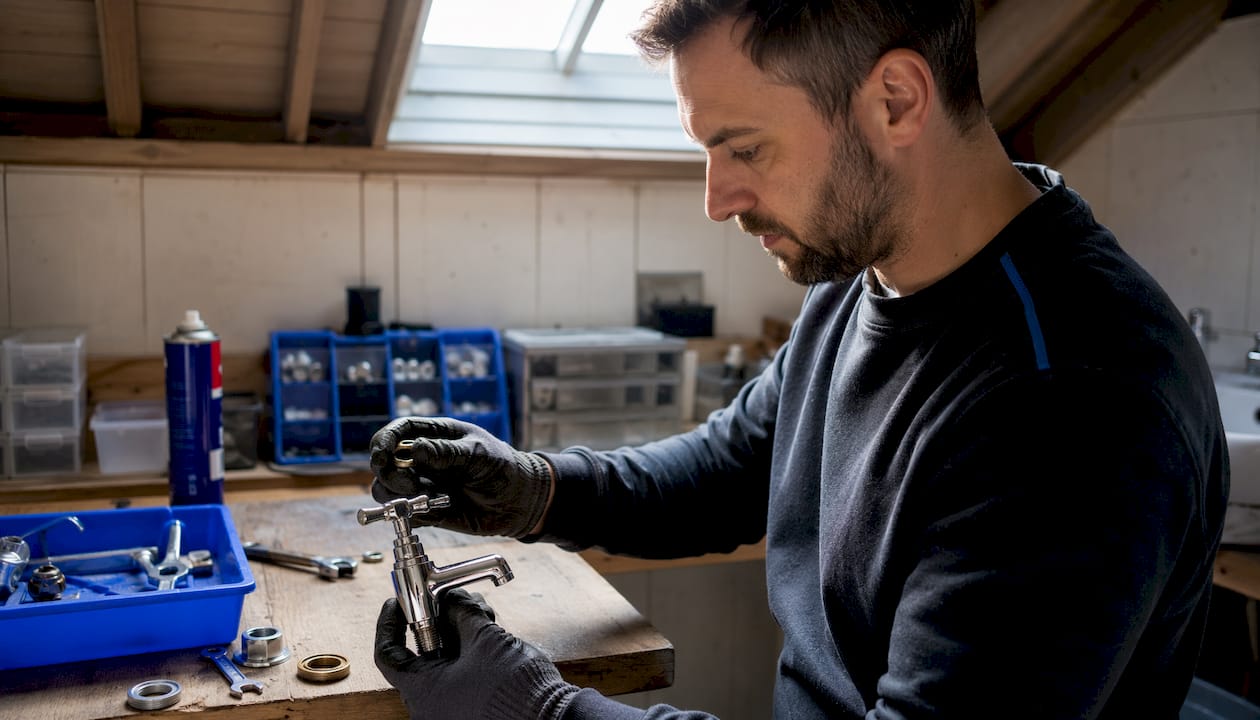
Before you do anything else, turn off the stopcock (usually under the sink or where the mains enters your home), plug the sink so you don’t lose small parts, and note exactly where the water is appearing.
Quick decision checklist:
- Drip from the spout: worn washer, cartridge, or valve seat. Usually DIY-able.
- Water around the handle base: worn O-ring. Straightforward swap.
- Water under the sink: supply connection or shutoff valve leak. Call a plumber.
- Leak returns after you’ve already replaced parts: corroded valve seat or damaged internal body. Call a plumber.
If the drip is from the spout and the tap is older, start with the washer. If it’s a modern mixer, the cartridge is your first suspect. Jmplumbingservicesltd handles both scenarios across Cardiff and the Vale of Glamorgan when the DIY route isn’t working.
Table of Contents
- What are the most common dripping tap causes?
- What tools and parts do you need before starting a repair?
- How to prepare safely before opening up a tap
- How to fix a compression (washer) tap step by step
- How to fix a ceramic-disc or cartridge mixer tap step by step
- When should you call a plumber instead of fixing it yourself?
- Simple maintenance habits that prevent future drips
- Does a dripping tap affect boiler pressure, and when does a drip signal a wider issue?
- Does a dripping tap affect boiler pressure?
- Key Takeaways
- The drip that keeps coming back
- A persistent drip? Jmplumbingservicesltd can sort it today
- Useful sources and where to buy parts
What are the most common dripping tap causes?
Leak location is your fastest diagnostic tool. Where the water appears tells you which component has failed, and that determines whether you can fix it yourself in an afternoon or need a professional.
The main causes, mapped to symptoms:
- Worn rubber washer: the most common cause in older compression taps. The washer presses against the valve seat every time you close the tap; over years, it hardens and cracks.
- Worn O-ring: a small rubber ring on the tap stem. When it degrades, water seeps around the handle base rather than from the spout.
- Damaged cartridge or ceramic discs: in mixer taps, a single cartridge controls both temperature and flow. Scratched ceramic discs or cracked cartridge seals cause a persistent spout drip.
- Corroded or pitted valve seat: the valve seat is where the washer presses to stop flow. Scale and grit pit the surface, so even a brand-new washer won’t seal properly.
- Mineral scale (limescale): hard water abrades rubber seals and pits valve seats, accelerating failure. This is especially common in parts of South Wales and the South East.
- High water pressure: residential supply normally runs at about 40–60 psi; pressure above roughly 80 psi forces water past seals, causing intermittent drips that are worst at night when demand drops and pressure peaks.
- Loose supply connections: a slow drip under the sink from a supply hose fitting, not the tap body itself.
Symptom-to-cause diagnostic table
| Leak location | When it drips | Most likely cause | DIY difficulty |
|---|---|---|---|
| Spout, constant | Always, even when fully closed | Worn washer or cartridge | Easy |
| Spout, intermittent | Worse at night or early morning | High water pressure | Moderate (needs gauge) |
| Handle base | When tap is on or off | Worn O-ring | Easy |
| Under the sink | Anytime | Supply hose or shutoff valve | Easy to moderate |
| Spout, after new washer | Still drips after repair | Pitted valve seat | Moderate to hard |
Simple diagnostic steps:
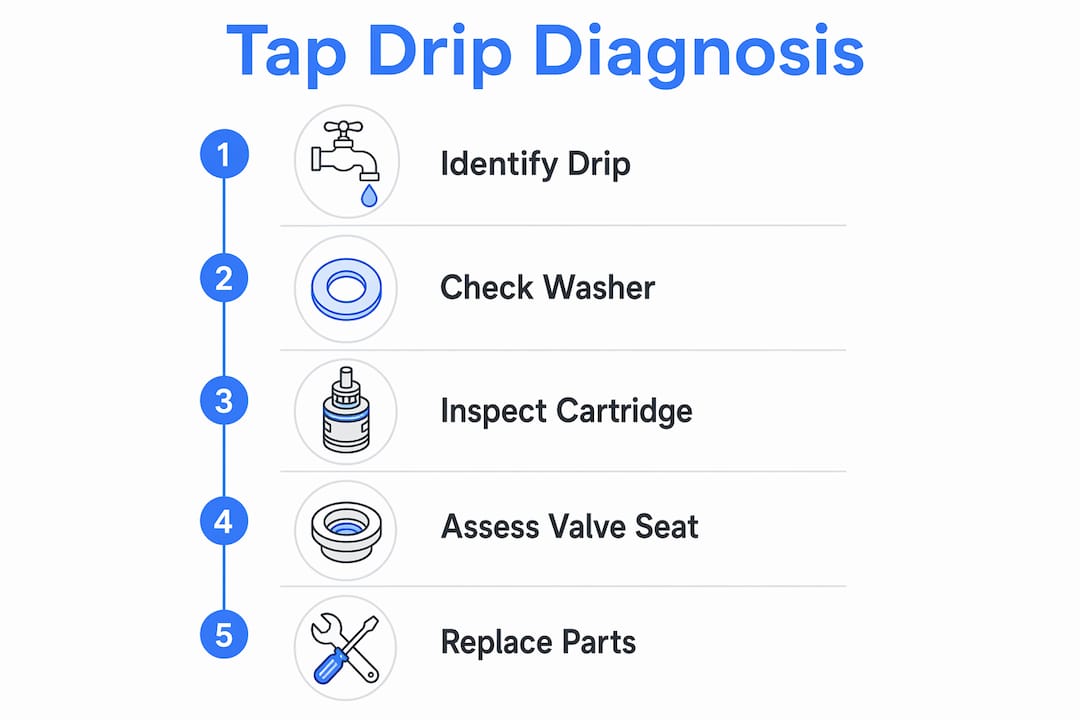
- Turn the tap fully off and watch whether the drip continues. If it does, the washer or cartridge is the culprit.
- Feel around the handle base with a dry hand. Moisture there points to an O-ring.
- Open the cabinet below and check supply hoses and the shutoff valve body for any dampness.
- If the drip is intermittent and worst at night, attach a pressure gauge to an outside tap or bib to check supply pressure.
Pro Tip: If the drip appears only at night and stops by mid-morning, test your supply pressure before replacing any parts. A pressure-reducing valve may be the real fix.
What tools and parts do you need before starting a repair?
Gather everything before you dismantle anything. Running to the hardware store with a tap in pieces is a common mistake that turns a 45-minute job into a three-hour one.
Essential tools:
- Adjustable wrench or basin wrench (for tight under-sink fittings)
- Flathead and Phillips screwdriver set
- Allen keys (hex keys) for modern tap handles
- Slip-joint pliers with a cloth to protect chrome
- Cartridge puller (optional but useful for stubborn mixer cartridges)
- Small bucket and old rags
Parts to have ready:
- Replacement rubber washers in assorted sizes
- O-ring set (a mixed pack covers most tap stems)
- Replacement cartridge matched to your tap model
- PTFE tape for supply connections
- Silicone grease safe for rubber seals (not petroleum-based)
- Valve seat key or replacement seat (for compression taps with pitted seats)
Buying tip: photograph the old part and note the tap brand and model before going to a supplier. Mixer tap cartridges in particular are often manufacturer-specific, so a generic part may not seat correctly.
How to prepare safely before opening up a tap
Skipping prep is how small jobs become expensive ones. A screw down the drain or water spraying across the bathroom cabinet are both avoidable.
- Locate the stopcock and turn it clockwise until it stops. If there are under-sink isolating valves (small slotted valves on the supply pipes), turn those instead so the rest of the house keeps water.
- Open the tap to drain residual water from the pipes. Have a bucket ready.
- Plug the sink with the plug or a cloth before removing any parts. Losing a small spring or retaining screw down the drain is one of the most common DIY mistakes.
- Lay parts out in removal order on a clean towel as you disassemble. Photograph each stage on your phone before you go further.
- Isolate hot water if working on a hot tap: turn off the boiler or immersion heater and let the water cool.
- Place a folded towel in the cabinet below to catch any drips and to spot any unexpected leaks when you restore supply.
Pro Tip: Never overtighten when reassembling. Snug is enough. Overtightening crushes rubber seals and stresses valve threads, which leads to another drip within months.
How to fix a compression (washer) tap step by step
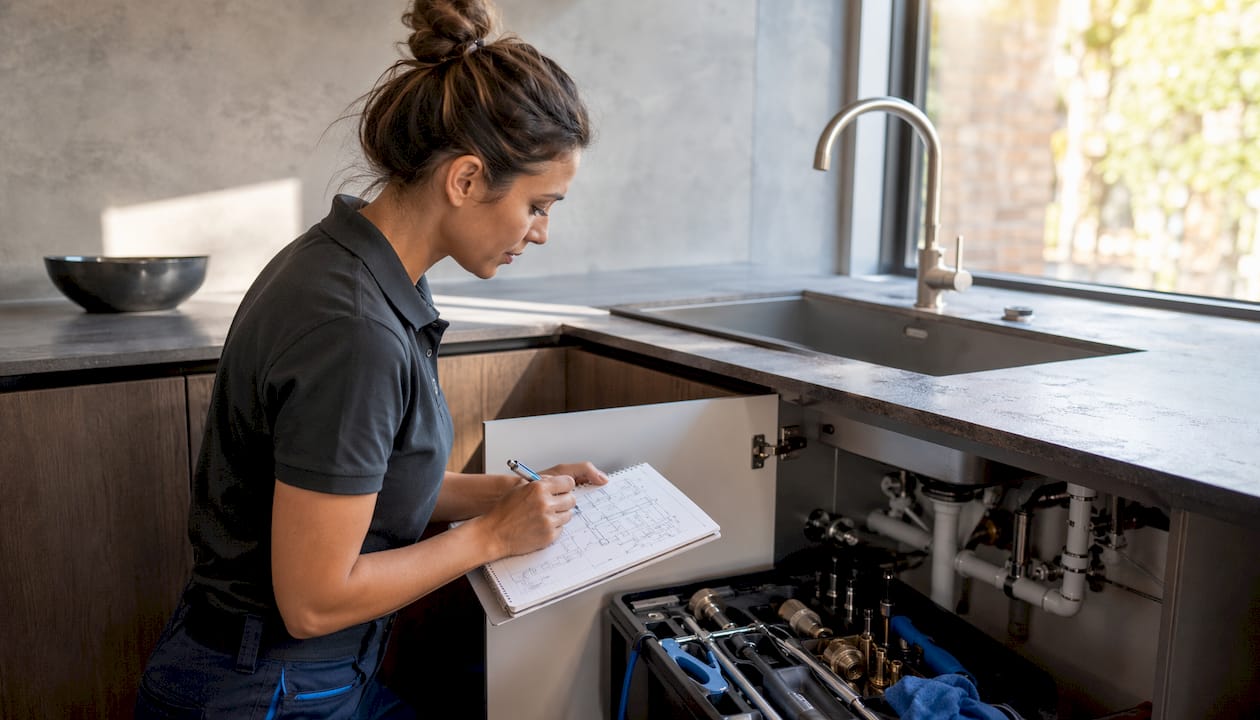
Compression taps have separate hot and cold handles and a visible stem you can feel turning under resistance. The repair is straightforward and typically takes 30–90 minutes.
- Shut off the water at the stopcock or isolating valve, then open the tap to drain the line.
- Remove the handle. Prise off the decorative cap (usually a small plastic disc marked H or C), unscrew the retaining screw beneath, and lift the handle off.
- Unscrew the bonnet or packing nut using an adjustable wrench. Wrap the jaws with tape or a cloth to protect chrome.
- Extract the stem by turning it counterclockwise. The rubber washer is at the bottom, held by a small brass screw.
- Inspect the washer. If it’s flat, cracked, or hardened, replace it with a matching size. While you have the stem out, inspect the valve seat inside the tap body with a torch. A smooth, shiny surface is good; a rough or pitted surface means the seat needs attention.
- Address a pitted valve seat. Light pitting can sometimes be dressed with a valve-seat tool (a small cutter that fits into the tap body). If the seat is severely corroded, a new washer alone won’t stop the drip; the seat needs replacement or the whole tap does.
- Fit the new washer, tighten the retaining screw firmly but not aggressively, and apply a thin smear of silicone grease.
- Reassemble in reverse order: stem, bonnet, handle, decorative cap.
- Restore the water supply slowly and watch for drips for two minutes before declaring success.
Pro Tip: Plug the sink before step 2. The retaining screw under the handle is tiny and will vanish down the drain if you’re not careful.
Common pitfalls: a seized stem (soak with penetrating oil and wait 10 minutes before forcing it), and brittle old rubber that crumbles when you remove the washer. If the rubber disintegrates, collect all the fragments so nothing is left in the valve seat.
How to fix a ceramic-disc or cartridge mixer tap step by step
Modern mixer taps use either a ceramic-disc cartridge or a proprietary cartridge with rubber seals. The diagnosis and fix are slightly different from a compression tap, and many mixer cartridges are brand-specific, so part matching matters.
- Identify your tap model. Check under the spout or on the base for a brand name or model number. Photograph it.
- Shut off the water at the isolating valves under the sink. Open the tap to release pressure.
- Remove the handle. Most modern mixer handles have an Allen screw under a decorative cap at the top or rear of the handle. Remove the cap, unscrew the Allen bolt, and lift the handle off.
- Remove the cartridge retaining nut or clip (varies by manufacturer). Use an adjustable wrench or pliers with a cloth.
- Extract the cartridge. Pull it straight out. If it’s stuck, a cartridge puller tool grips the top and draws it out without damaging the body.
- Inspect the cartridge. Look for scratched ceramic discs, cracked seals, or grit embedded in the seating faces. Scale deposits appear as white or grey crust. Light scale can sometimes be dissolved with a mild descaler; scratched or cracked ceramic discs cannot be repaired and the cartridge must be replaced.
- Match the replacement cartridge by part number or by taking the old one to a plumbing supplier. Fitting a generic cartridge that’s a few millimetres off will cause an immediate leak.
- Fit the new cartridge in the correct orientation (most have a flat or keyed side to prevent incorrect insertion), replace the retaining nut, and reassemble the handle.
- Restore supply and test both hot and cold positions. Check the handle base for any moisture.
Typical DIY time varies depending on access and whether the cartridge is seized. If the leak persists after a new cartridge, the valve body itself may be damaged. At that point, replacing the whole tap is usually more cost-effective than further investigation.
Pro Tip: Note the cartridge orientation before pulling it out. Most have a flat or notch that must align with the body. A photo takes two seconds and saves a frustrating reassembly.
When should you call a plumber instead of fixing it yourself?
Most dripping tap causes are genuinely DIY-friendly. A few are not.
Call a professional when:
- Water is pooling under the sink from supply lines or the shutoff valve body (not just the tap itself). This is a bathroom leak that needs proper diagnosis.
- The valve seat is severely pitted and needs machining or replacement.
- The tap body is cracked or the internal thread is stripped.
- A new cartridge or washer hasn’t stopped the drip after a careful repair.
- You can’t locate or operate the stopcock safely.
- The leak appears across multiple fixtures simultaneously, which suggests a supply or pressure issue rather than a single tap fault.
Typical cost ranges in the UK
Typical DIY parts and professional call-out costs vary widely by region, access difficulty, and tap specification.
A professional visit also provides a valve-seat assessment and a check of the supply connections, which a parts swap alone won’t cover. For Cardiff and the Vale of Glamorgan homeowners, Jmplumbingservicesltd offers plumbing call-outs with a clear quote before any work starts.
Simple maintenance habits that prevent future drips
Prevention is cheaper than repair. A few low-effort habits extend the life of tap seals significantly, especially in hard-water areas like parts of South Wales.
- Descale aerators monthly in hard-water areas. Unscrew the aerator from the spout tip, soak it in white vinegar for 30 minutes, and rinse.
- Descale cartridges and valve seats periodically using a mild proprietary descaler. Scale buildup is one of the main reasons new seals fail to seat properly.
- Replace rubber seals proactively every three to five years in hard-water areas, rather than waiting for a drip to develop.
- Use silicone-based lubricant on O-rings and washer faces during reassembly. Petroleum-based products degrade rubber quickly.
- Avoid overtightening handles. Turning a tap off with excessive force crushes the washer faster and stresses the stem thread.
- Fit an in-line filter or water softener if your supply is particularly hard. This protects all tap seals, not just the ones you’ve recently replaced.
- Do a quick monthly visual check: look under the sink, feel around handle bases, and listen for any change in drip rate.
For general plumbing maintenance tips, reformasuru.com offers useful guidance on keeping fixtures in good condition.
Does a dripping tap affect boiler pressure, and when does a drip signal a wider issue?
This is one of the most common questions homeowners ask, and the short answer is: no, a dripping tap does not normally cause your boiler pressure to drop.
Here’s why. Your central heating system is a closed loop, separate from the domestic cold and hot water supply. Boiler pressure is maintained within that sealed circuit. A point-of-use leak like a dripping tap sits outside that loop entirely and has no direct path to reduce the pressure reading on your boiler gauge.
What actually causes boiler pressure to drop: a leak in the heating circuit itself (a radiator valve, a joint in the pipework, or a leaking heat exchanger), a faulty pressure-relief valve that’s venting to drain, or a failing expansion vessel. None of these are caused by a dripping tap.
Practical checks to rule out a wider issue:
- Check the boiler pressure gauge. Normal operating pressure is typically 1–1.5 bar when cold. Below 0.5 bar indicates a heating-circuit leak, not a tap problem.
- Look for pooling or damp patches near radiators, under the boiler, or along visible pipework.
- If you’ve noticed pressure dropping repeatedly after topping up, call a Gas Safe registered heating engineer, not a general plumber.
- If your mains supply pressure seems low across all outlets (not just one tap), contact Southern Water or your local water supplier to check for a supply issue.
One scenario where a tap drip can indirectly matter: if your boiler draws from a feed-and-expansion tank in the loft (older open-vented systems), a significant leak anywhere in the system can lower the tank level. But a standard dripping tap still won’t cause this.
Does a dripping tap affect boiler pressure?
No. A dripping tap is a domestic water supply leak and sits outside the sealed central heating loop. Boiler pressure drops are caused by leaks within the heating circuit, a faulty pressure-relief valve, or a failing expansion vessel. If your boiler pressure is dropping, check radiators, pipework joints, and the boiler itself, and call a Gas Safe engineer if you can’t identify the source.
Key Takeaways
Most dripping taps are caused by worn seals, and the leak location tells you which seal has failed, which determines whether a simple DIY repair or a professional call-out is the right move.
| Point | Details |
|---|---|
| Leak location = likely cause | Spout drip points to washer or cartridge; handle-base drip points to O-ring; under-sink drip means supply connection. |
| Shut off supply first | Close the stopcock or isolating valves and plug the sink before dismantling anything. |
| Valve seat matters | A new washer won’t fix a pitted valve seat; if the drip returns after a repair, the seat needs assessment. |
| Boiler pressure is unaffected | A dripping tap does not reduce boiler pressure; pressure drops come from the heating circuit, not domestic supply. |
| Jmplumbingservicesltd | For leaks under the sink, corroded seats, or persistent drips after DIY, book a professional inspection in Cardiff or the Vale of Glamorgan. |
The drip that keeps coming back
There’s a pattern worth naming: homeowners replace a washer, the drip stops for two weeks, then it’s back. They replace the washer again. Same result. The tap gets written off as “just old” and the drip becomes background noise.
The real culprit in almost every one of those cases is the valve seat. A pitted or roughened seat chews through new washers quickly because the seal surface itself is damaged. The washer isn’t the problem; it’s the surface it’s pressing against. Fixing this properly means either dressing the seat with a valve-seat tool or replacing the tap. Neither is complicated, but neither is a washer swap either.
The other thing people underestimate is limescale. In hard-water areas, scale isn’t just cosmetic. It embeds in cartridge seals, abrades ceramic discs, and prevents new O-rings from seating flush. Descaling before fitting new parts is the step most DIY guides skip, and it’s often the reason a repair fails within a month.
A drip that keeps returning after careful repairs is the tap telling you something more than a seal has failed. At that point, a professional assessment takes 20 minutes and saves you from replacing parts indefinitely.
A persistent drip? Jmplumbingservicesltd can sort it today
When the DIY fix hasn’t held, or you’ve found water under the sink and you’re not sure where it’s coming from, that’s the moment to call someone who can assess the whole picture rather than just the visible part.

Jmplumbingservicesltd covers Cardiff and the Vale of Glamorgan for plumbing repairs, including dripping taps, supply-line leaks, and valve-seat assessments. A visit includes a full diagnostic, a clear parts and labor quote before anything is touched, and a repair or safe temporary measure the same day where possible. No vague estimates, no surprise charges. If the tap turns out to need a full replacement or the leak points toward a wider bathroom renovation, the team will tell you plainly and give you options.
For urgent leaks or persistent drips that keep coming back, book a call-out with Jmplumbingservicesltd and get a same-day or next-day appointment across Cardiff and the Vale of Glamorgan.
Useful sources and where to buy parts
| Resource | What it covers |
|---|---|
| Wickes: How to Fix a Dripping Tap | Step-by-step repair guide with parts advice; Wickes stores also stock washers, O-rings, and cartridges. |
| Southern Water: How to Fix a Dripping Tap | Safety and shutoff guidance from a UK water authority. |
| PlumbingByTheBook: Why Is My Faucet Leaking? | Detailed cause-by-cause breakdown including pressure and scale issues. |
| WhatPrice: Tap Repair Cost | UK cost guide for DIY parts and professional call-out ranges. |
| Angi: Why Is My Faucet Dripping? | Cartridge and ceramic-disc matching guidance. |
| Jmplumbingservicesltd: Plumber Cardiff | Book a professional inspection or repair in Cardiff and the Vale of Glamorgan. |
Where to buy parts in the UK: Wickes, Screwfix, and B&Q carry most standard washers, O-ring sets, and PTFE tape. For manufacturer-specific cartridges, contact the tap brand directly or use a specialist plumbing merchant who can match by part number. Photograph the old cartridge and note any markings before you go.