
Wet Room Leaks: How to Diagnose, Fix, and Prevent Them
Learn how to diagnose, fix, and prevent leaks in your wet room to protect your home and save money. Quick, effective solutions await you!
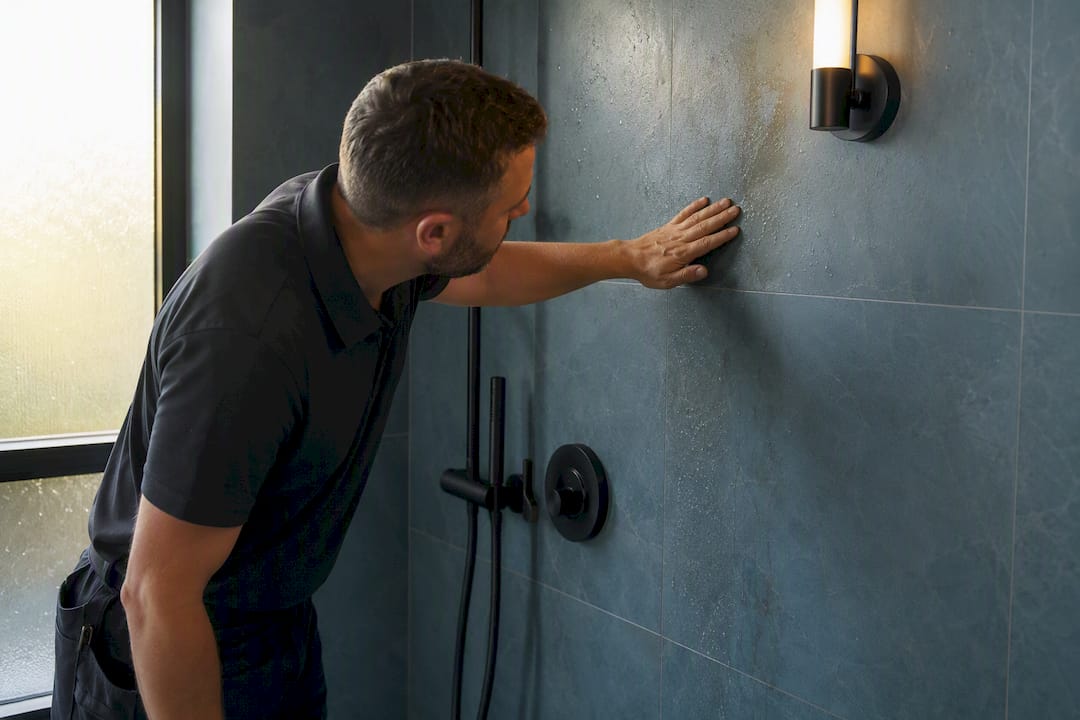
A leak from a wet room almost always comes from one of two places: a joint or plumbing fitting you can fix in an afternoon, or a failed waterproof membrane that needs a full strip and re-tank. Water tracking down through your ceiling is urgent either way. Stop using the wet room, put a bucket or towels down to catch what’s coming through, and work through the diagnostic checks below before you decide whether this is a DIY afternoon or a job for a professional.
TL;DR:
- Plumbing joints, drain fittings, or faulty membrane installation are the most common leak sources; diagnosing properly can often avoid costly full re-tanks.
- Water tests including hose and flood tests help isolate whether the leak stems from pipework or the waterproof membrane, guiding the correct repair approach.
- Re-grouting or resealing may temporarily stop leaks but won’t fix a failed membrane, which requires a full strip and re-application of the tanking system.
- Proper long-term waterproofing involves continuous, reinforced tanking, bonded drain connections, and thorough testing before tiling to prevent future leaks.
- Always get a detailed, written diagnosis from a qualified tradesperson before starting repairs, especially when dealing with persistent or active leaks.
Table of Contents
- How Do You Find and Diagnose a Wet Room Leak?
- What Causes Wet Room Leaks in the First Place?
- Cheap Fixes You Can Try Before Stripping the Floor
- When Do You Need a Full Strip and Re-Tank?
- How Do You Prevent Wet Room Leaks Long-Term?
- A Cardiff Wet Room Repair: What We Found and Fixed
- What Homeowners Get Wrong About Wet Room Leaks
- Get a Proper Diagnosis From JM Plumbing Services Ltd
- Sources
How Do You Find and Diagnose a Wet Room Leak?
Look first, then test. Staining or a damp patch that keeps returning on the ceiling below, tiles that sound hollow when tapped, grout lines that stay damp long after the room dries, and a musty smell near the floor are the classic warning signs. A spongy or slightly bouncy feel underfoot on a timber-framed wet room floor usually means water has already got into the substrate.
Once you’ve spotted a sign, work through these checks in order:
- Reproduce the leak. Run the shower for ten minutes and watch the ceiling or wall below in real time.
- Bucket test the tray or floor. Block the waste temporarily and let an inch of water sit for 20 minutes to see if it drops without draining.
- Hose test the waste. Run a hose directly into the drain outlet, bypassing the floor entirely, to isolate whether the pipework itself is the source.
- Check the valve and shower rose. Loose olives or a worn O ring at these connections cause leaks that have nothing to do with tanking.
- Tap the tiles. A hollow, drum like sound points to adhesive failure or a void behind the tile, not necessarily a membrane breach.
If water passes the hose test but the floor still weeps during normal use, the membrane is the likely culprit. Recurring damp after regrouting or on the ceiling below is one of the strongest signs the tanking has failed, and no amount of surface repair will fix that.
Pro Tip: Photograph every stain and damp patch with a date stamp. If you end up needing a professional strip-and-re-tank, that timeline helps a surveyor pinpoint how fast the problem is spreading and whether it’s covered under any existing guarantee.
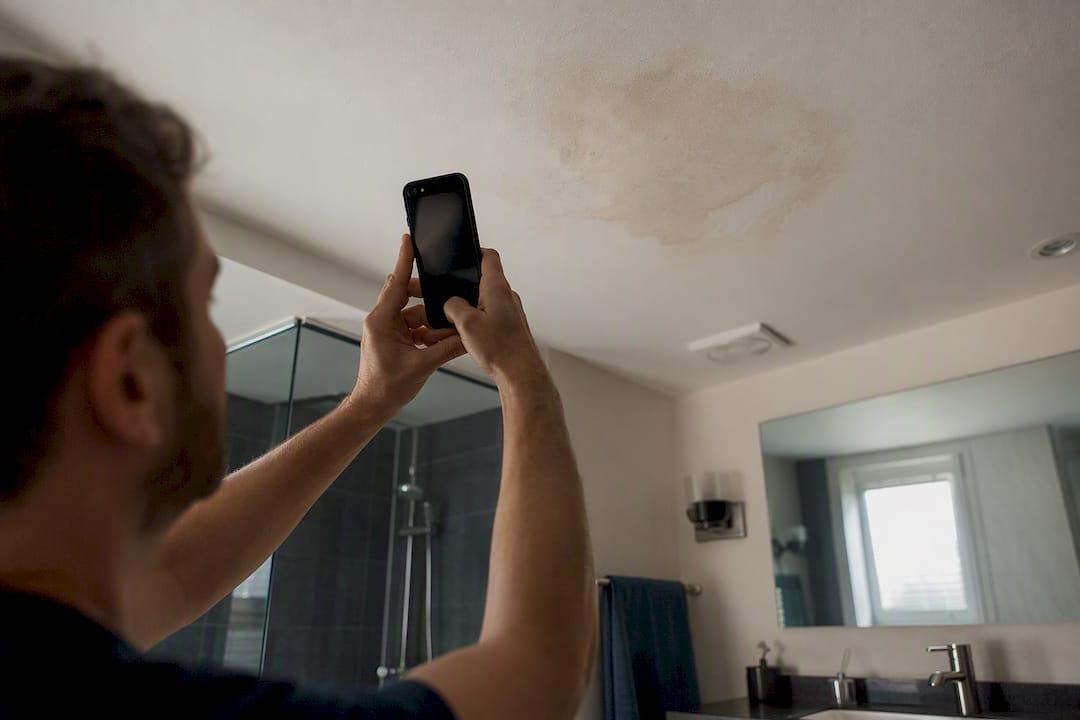
Stop testing and call a tradesperson immediately if you see active water dripping through the ceiling, any sign of rot in timber joists, or damp anywhere near electrical wiring or light fittings.
What Causes Wet Room Leaks in the First Place?
Most wet room leaks trace back to how the room was built, not how it’s used. Properly installed wet rooms don’t leak by design; the tanking membrane underneath the tiles is what actually stops water, and grout only slows it down.
- Tanking membrane failure. Grout and even good silicone are water resistant, not waterproof. Once the membrane behind them cracks, splits, or was never applied to a proper standard, water gets through regardless of how clean the tile surface looks.
- Incorrect floor falls. A shower floor needs a consistent gradient toward the drain. Get it wrong, especially on a timber floor former, and water pools instead of draining, sitting against grout lines until it finds a way through.
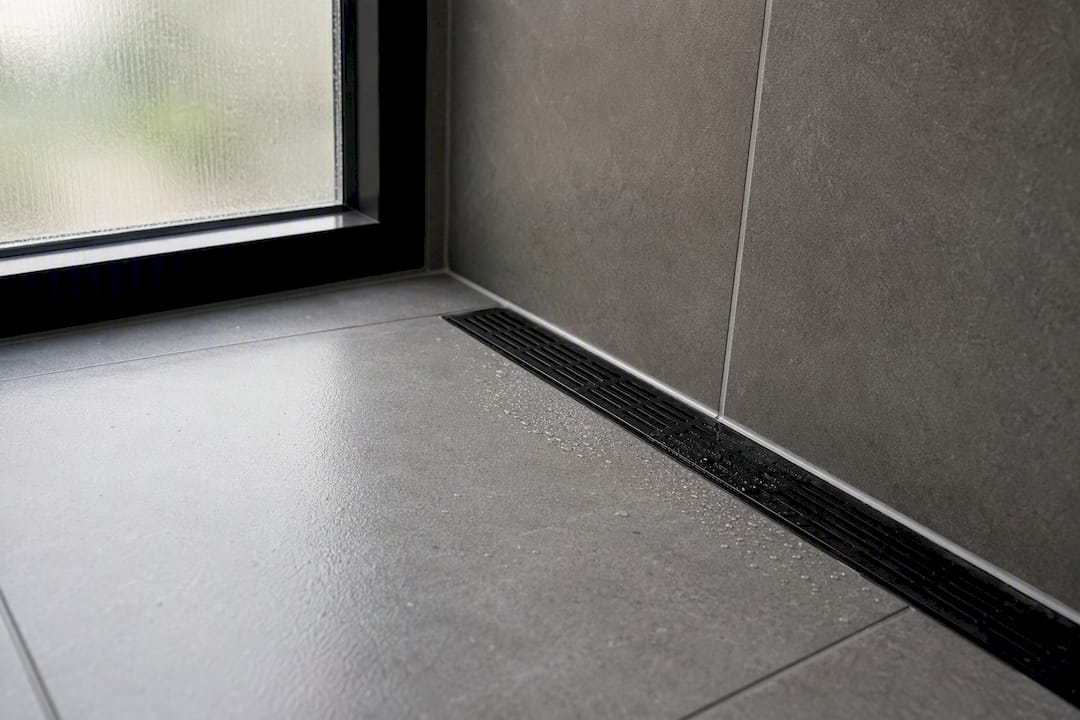
- Drain and waste failures. A loose clamping ring, a flange that was never bonded to the membrane, or a waste connection that shifted during installation are common, fixable causes.
- Poor adhesive or tile bedding. Dot-and-dab fixing leaves voids behind tiles that trap water and eventually crack the bond. Porous natural stone without the right sealant makes this worse.
- Plumbing joints behind the tiles. A weeping compression fitting or a poorly soldered joint inside the wall can mimic a tanking failure perfectly, which is exactly why the hose and valve checks above matter.
Cheap Fixes You Can Try Before Stripping the Floor
Not every leak needs a rebuild. If your diagnostic checks point to a surface joint or the drain fitting rather than the membrane itself, these fixes are worth trying first.
- Cut out and replace old silicone. Remove it fully with a sealant scraper, clean the joint with isopropyl alcohol, and let it dry completely before applying a fresh bead of sanitary grade silicone. Give it the full 24 hours the tube recommends before running water over it.
- Reseat the drain clamping ring. Lift the grate, check the rubber gasket sits flat and unpunctured, and retighten the ring evenly so it doesn’t sit proud on one side.
- Re-run the waste hose test after each fix to confirm the leak has actually stopped rather than just paused.
- Regrout sparingly. Regrouting helps when the grout itself has cracked but the membrane underneath is sound. If the leak keeps coming back after regrouting, that’s a sign the fix only delayed a membrane problem rather than solved one.
While you sort out a permanent fix, run a dehumidifier in the room and check the ceiling below daily. A shower leak coming through the ceiling can soften plasterboard within days, so containment now saves a much bigger repair later.
Pro Tip: Never paint over a damp patch on the ceiling to “solve” it while you wait for a quote. Painted-over damp hides how fast the problem is spreading and makes it harder for a tradesperson to judge how long the leak has been active.
When Do You Need a Full Strip and Re-Tank?
Recurring damp, repeated silicone failures, hollow tiles across a wide area, or any sign of rot in the substrate all point to one conclusion: the membrane has failed and needs replacing, not patching.
A proper re-tank follows a fixed sequence:
- Strip tiles and adhesive back to the substrate.
- Repair or replace damaged substrate, especially timber sections showing rot.
- Reform the floor falls or install a new floor former so water drains correctly to the waste.
- Apply a full tanking system across floor and walls, with taped and reinforced corners and pipe penetrations, following BS 5385 guidance on wet area waterproofing.
- Bond the membrane directly to the drain flange, not just around it.
- Flood test before any tile goes down.
- Retile using a full-coverage adhesive rather than dot-and-dab.
Products like BAL Tank-it, Mapei Mapelastic, and Schluter Kerdi are common industry choices, and drying and cure times between systems vary from a few hours to considerably longer depending on temperature and coats applied. Rushing that cure time before tiling is one of the most common causes of early failure in a brand-new tank.
How Do You Prevent Wet Room Leaks Long-Term?
A wet room built to the right specification shouldn’t need major repairs for years. Insist on these points before, during, and after installation.
- Continuous tanking with no gaps. Every corner, pipe penetration, and floor-to-wall junction needs taped reinforcement, not just a single brushed coat.
- A bonded drain connection. The membrane should lap onto and bond with the drain flange itself, not just sit adjacent to it.
- Full-coverage adhesive on the right substrate. Timber floors need supporting noggins, ply lining, and a rigid tile backer before tiling, or movement will crack the adhesive bond even over sound tanking.
- A flood test before tiling. This step is cheap compared to a re-strip and confirms the membrane and drain actually hold water before you commit to tiles.
- Ongoing maintenance. Check silicone every three to five years, inspect grout lines for cracking annually, keep the room ventilated to control condensation, and clear the waste of hair and debris regularly.
Keep the written specification, product names used, and any workmanship guarantee from your installer. That paperwork matters if you ever need to make an insurance claim or prove the work meets BS 5385 standards for wet area waterproofing.
Pro Tip: If you’re adapting a wet room for accessibility, keep a copy of the flood test result with your grant paperwork. Local authority accessibility grants often ask for proof the installation meets building standards before releasing funds.
Good drainage design underpins all of this. Our guide to wet room drainage covers how correct falls and drain selection prevent the pooling that leads to membrane stress in the first place.
A Cardiff Wet Room Repair: What We Found and Fixed
A homeowner in the Vale of Glamorgan called us after months of regrouting a shower floor that kept weeping into the kitchen ceiling below. The pattern was familiar: a temporary fix, dry for a few weeks, then damp again.
- The hose test on the waste came back clean, ruling out the plumbing.
- Lifting a section of tile showed the tanking had never been taped across the floor-to-wall junction, a common gap left by rushed original installation.
- We stripped the floor back to the substrate, applied a full tanking system with reinforced corners, bonded the membrane to the drain flange, and ran a 24 hour flood test before retiling.
- The homeowner received a written specification listing the products used and a workmanship guarantee.
Three lessons from that job: test the plumbing before you blame the membrane, don’t retile over an unproven tanking job, and always ask for a flood test result in writing.
What Homeowners Get Wrong About Wet Room Leaks
Most advice on this topic treats every leak the same way, pushing homeowners straight toward a full strip-out when a fifteen-minute hose test might have found a loose olive on the shower valve instead. That’s the biggest gap in conventional guidance: it skips the cheap diagnostic step and jumps to the expensive one.
The reverse mistake is just as common and costs more in the long run. Homeowners regrout the same joint three or four times over a year, treating each return of damp as bad luck rather than evidence. Grout was never the waterproof layer. If damp keeps coming back after a proper reseal, the membrane underneath has already failed, and every month spent patching it is a month the substrate keeps absorbing water.
If there’s one thing worth prioritizing above all else, it’s sequencing: rule out plumbing first, because it’s cheap and fast to check, then treat any recurring damp as a membrane issue rather than a grout issue. Skip the guesswork and you’ll spend less money finding the right fix the first time.
— Cameron
Get a Proper Diagnosis From JM Plumbing Services Ltd
Jmplumbingservicesltd gives Cardiff and Vale of Glamorgan homeowners something a quick internet search can’t: a tradesperson on-site running the same hose test, tap test, and flood test described above, then telling you honestly whether you need a silicone reseal or a full strip-and-re-tank, in writing, before any work starts.

A survey gets you a written diagnosis, evidence from any flood testing carried out, and a fixed quote before you commit to anything. If tiles are already hollow or damp is tracking through your ceiling, that survey is the fastest way to stop guessing and start fixing it properly. If you’re already seeing a shower leak coming through your ceiling, book a survey now rather than waiting for the next regrout to fail. Get in touch through JM Plumbing Services to arrange a visit and get a clear answer on what your wet room actually needs.
Sources
- Do Wetrooms Leak?
- How to protect a wet room from leaks | TSJ
- Wet Room Leaking? How to Tell If It Needs Stripping and Re-Tanking | Bromley Tiler
- Wet Room Installation: The Complete UK Technical Guide